Adding Couriers:
Couriers are essential for sending stock to different places, whether it's a customer order or stock transfer. This document will show you how to quickly add a courier to your system.
Please note: Currently this document will only be covering custom couriers.
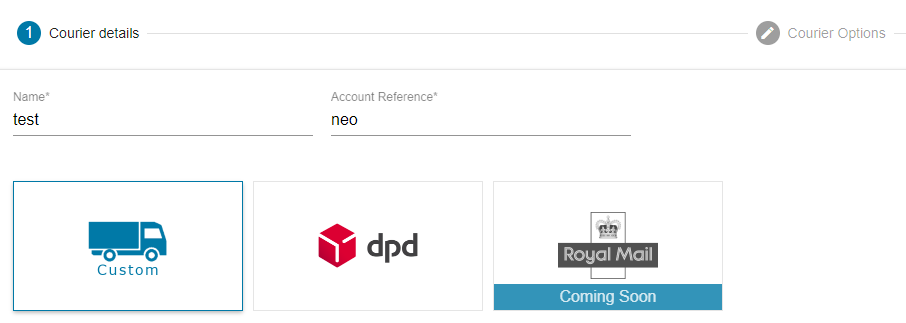
Head over to the "Courier" section in the back office and click the "Add Courier" plus symbol. Now enter a name and account reference for the courier you're adding and select "Custom" from the list of couriers:
Now add as many courier options as you need, for my example I will be using 3 different options, "Next day Delivery", "Standard Delivery (3-5 days)", and "Free Delivery (7-14 days)".
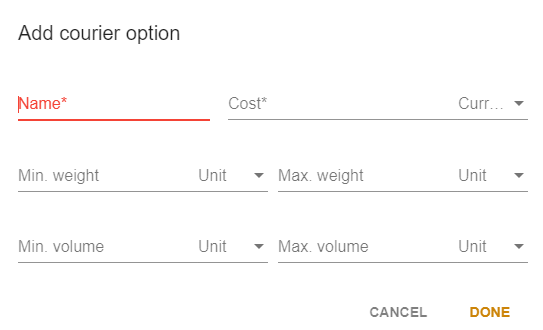
When clicking the orange "ADD OPTION" a small box will pop up with a place to name the option and give the option a cost (this isn't how much you're paying, this is how much the customer will be paying you for the delivery option). The rest of the information is optional and the currency, if not filled in, will default to GBP:
In the end, you'll end up with a small list of courier options to use later on, these will be necessary for sale orders, fulfilment rules, goods receipts, stock transfers and more:
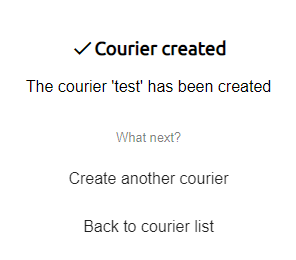
On finishing creation, you'll be presented with a window showing "Courier Creation Successful", there will be a few options here for you to go through if needed:


