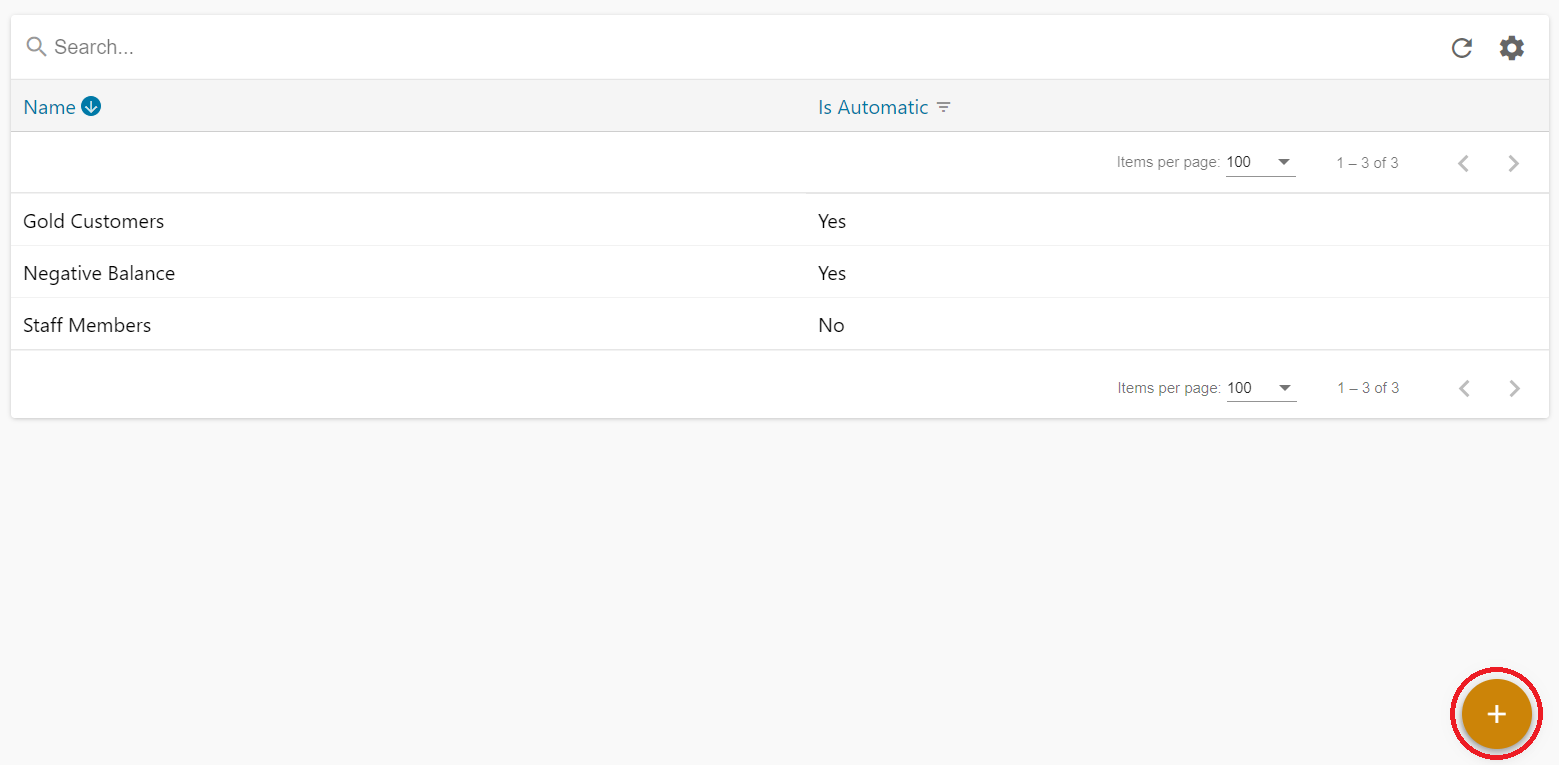
To access Customers groups, click through:
Sales >> Customers groups
To create a new customer group, click the “+” icon
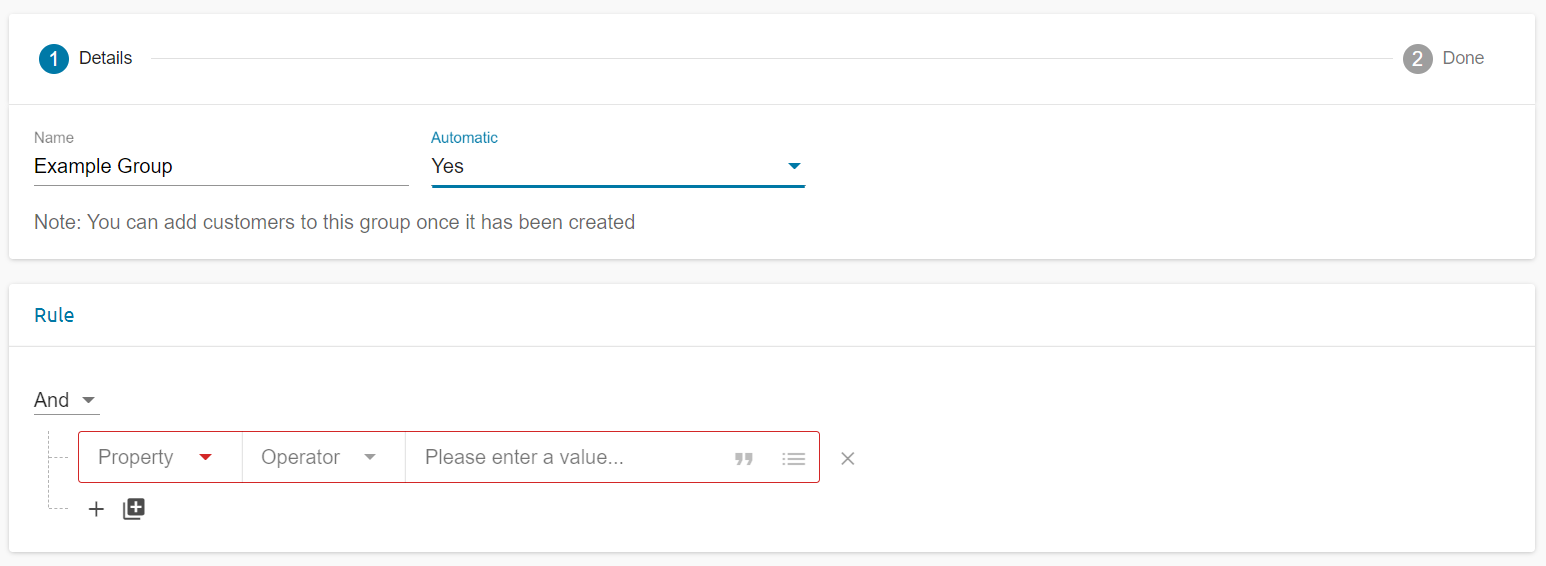
Add the name of your customer group
Leaving the automatic drop down to No will allow you to manually add the customer required for the group.
Changing this option to yes will mean your customers are added automatically to the group based on the logic select
For this example, we are setting the automatic selection option to NO creating a Discretionary discount.
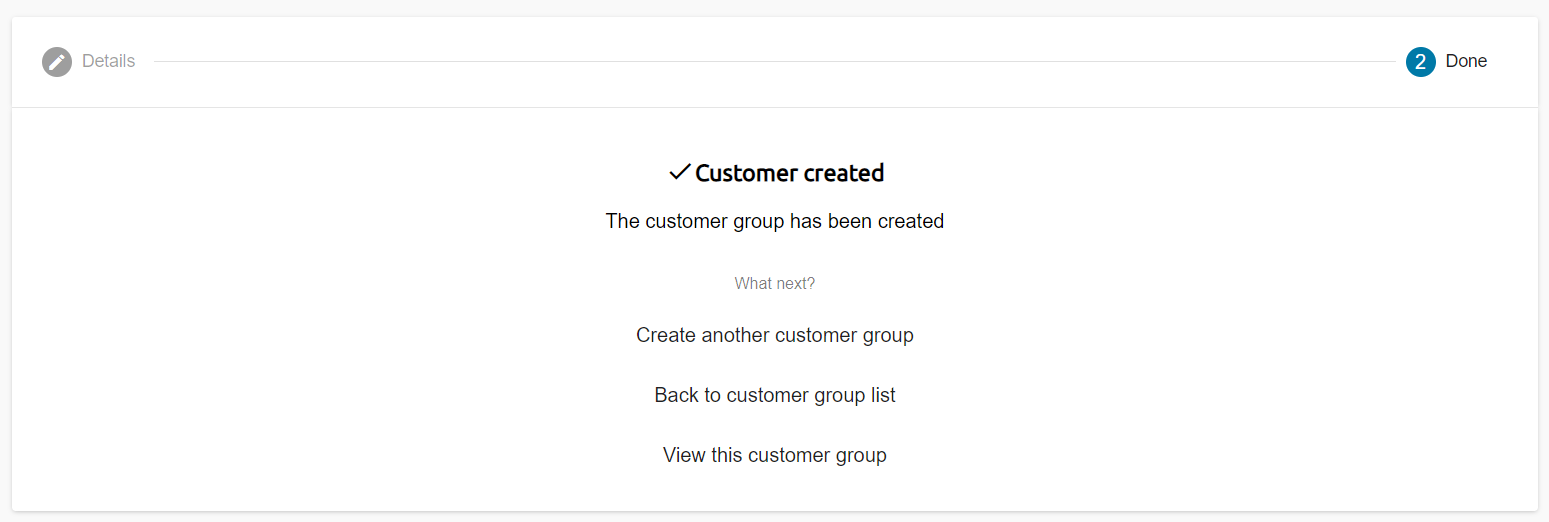
When you have completed this page hit the next arrow
Now your customer group has been created you are free to add customers to it.
Click into the customer group you created and select + ADD CUSTOMERS
Tick each customer you wish to add to this group.
When selected hit done, and you will see your desired customers have been added to the group
For the next example we will be creating an Automatic group.
Create a new group and this time change the Automatic dropdown box to yes.
This will bring up the logic rule in which the customer will be added to the group automatically based on the options selected.
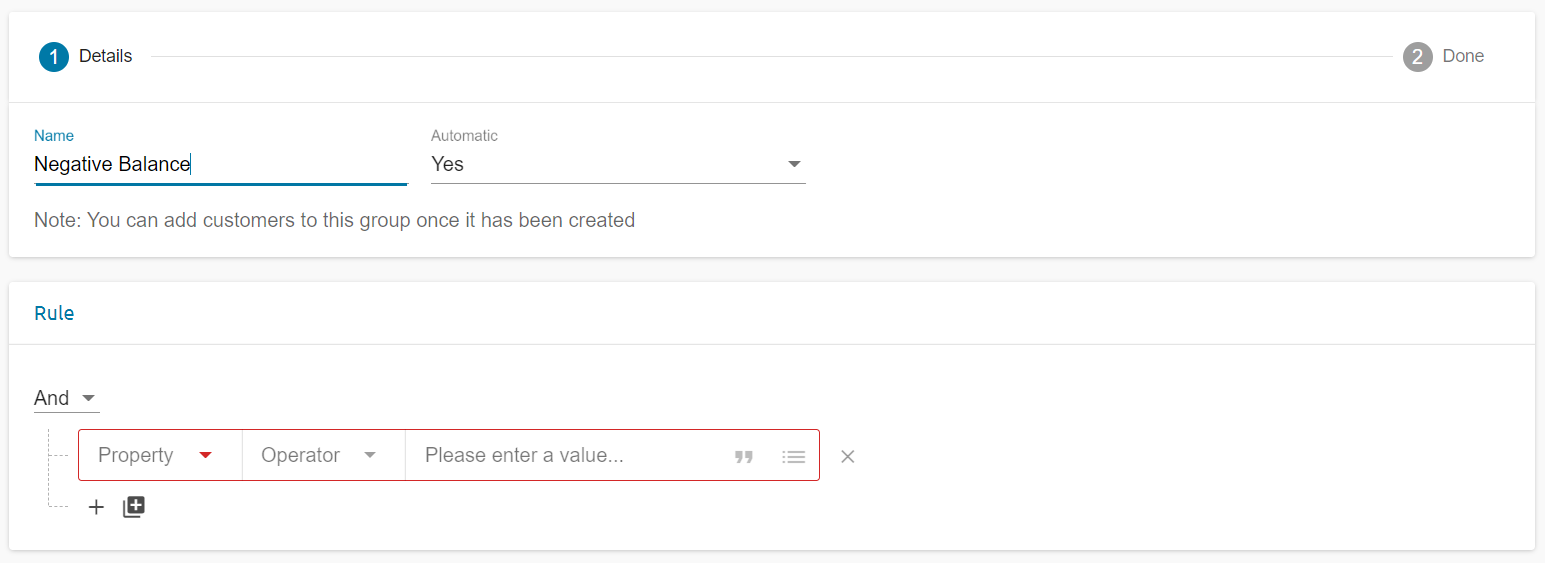
The property drop down will allow you to choose what rule your customer group will be based around. Options like account balance, average spend, total spend, and number of purchases can be selected here.
As the group we have created is called negative balance we will want the system to automatically select customers that have a negative balance less than £0
By selecting account balance from this drop down followed by > LESS THAN > 0
The system will automatically add any customer who balance is below 0 to this group
You can change this logic to reflect what group you wish to automatically create
Select the save icon in the bottom right hand corner and your group will be created
If you revisit the group, you will see the customer with a balance less then 0 have been automatically added.


