Creating your WooCommerce channel in Stok.ly
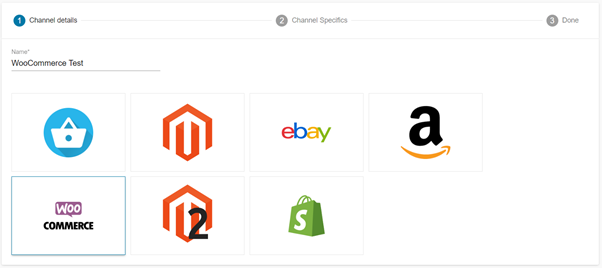
Firstly you'll need to enter an appropriate name for your channel and select the WooCommerce channel type, then proceed to the channel specifics screen.
On the channel specifics screen enter the URL for your store, as well as the Consumer Key and Consumer Secret.
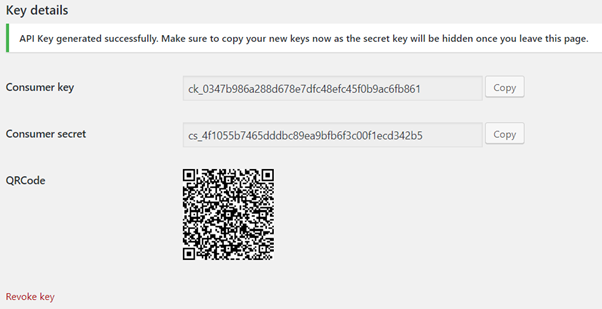
These can be obtained by going to your WordPress admin page, then going to WooCommerce > Settings > Advanced.
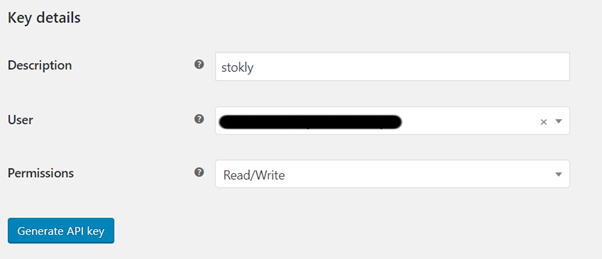
Click the blue “REST API” button near the top of the page and then “Add Key”.
The description for your key should be something simple like “stokly” and the permissions need to be set to read/write.
Once you've created your key you'll need to copy the key and secret back over to the channel specifics screen.
Finally, you'll need to connect your channel to your website.
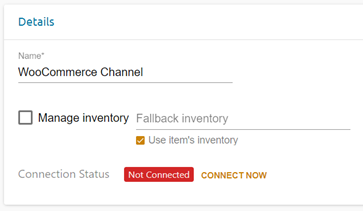
On the page for your channel in Sales > Channels, click the orange “connect now” button and the status of your channel should change from a red “not connected” to a green “connected” icon.
If you want Stok.ly to manage the inventory of your items that's shown in WooCommerce then you'll need to tick the “Manage Inventory” tick box on the same page.
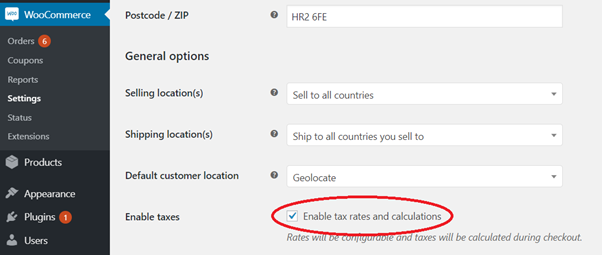
If you want to use tax rates with your WooCommerce website and you don’t already, you can enable this in the WooCommerce settings. Go to WooCommerce > Settings and tick the box labelled “Enable tax rates and calculations”.
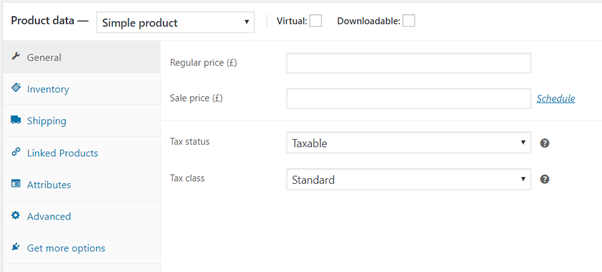
This will add the Tax status and Tax class properties to your products in WooCommerce.
In order to get your Stok.ly product images usable on WooCommerce, you’ll need to ask your website host to change some settings for your website. They will need to increase the “max execution time” in your website’s php settings to at least 120. If you get errors with your products not having images in WooCommerce, you might need to ask your provider to increase this value further.
This is the initial setup of your channel done.
Creating mappings for your listings
Before you can list from Stok.ly to your website you'll need to create mappings for the item types of the items that you want to list. Mappings will tell Stok.ly which item attributes and information you want to be passed on to WooCommerce.
If you have existing items in WooCommerce that you want to transfer to Stok.ly, skip to the Store Scan section before creating your mappings.
Click the orange “create” button on the mappings section.
Then choose which Item Type you want to create a mapping for.
The next screen will only have the WooCommerce products tick box on it, this is because unlike other channels Stok.ly integrates with WooCommerce only has one item type used by all products.
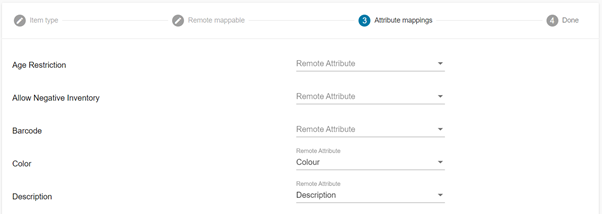
The attribute mappings screen lets you choose which WooCommerce attributes you want to be mapped to Stok.ly item attributes for this item type.
The left hand column is all of this item type's attributes in Stok.ly and the right hand dropdown boxes let you choose which WooCommerce attribute you want to map the corresponding Stok.ly attribute to.
None of these attributes are required for you to be able to list a product, but a minimum of a name, price and SKU will mean that an item is functional.
Please note: a WooCommerce attribute can only be mapped to once (For example two different Stok.ly price attributes cannot both map to the WooCommerce price attribute)
If you need your Stok.ly items to map to WooCommerce categories, you’ll need to create a new attribute for your Stok.ly items that contains the category you want them mapping to.
Instead of a name in this attribute, you’ll need to supply the WooCommerce category id. This can be found in the WooCommerce back office by going to Products > Categories, then clicking edit on the category you want.
The category id can then be found in the address bar of your browser next to “tag_ID”.
Your address bar should look similar to this and you can see here that my category ID is 16 (tag_ID=16).
This number can then be entered into your Stok.ly attribute like so:
Here you can see I’ve named my attribute WooCommerce Category, which I’ll then map to the WooCommerce “Categories” attribute in my mapping.
Creating a listing
Now that you've created a mapping, any item with that item type can be listed to your WooCommerce website.
To add a listing go to the “listings” section at the bottom of your channel page and click “create”.
Then choose a mapping to use for this listing.
You can now choose one or multiple items of this item type to list to your website. Listing a variable item will mean all of its individual sub items show up in the listings screen, but only the one variable item will show in WooCommerce.
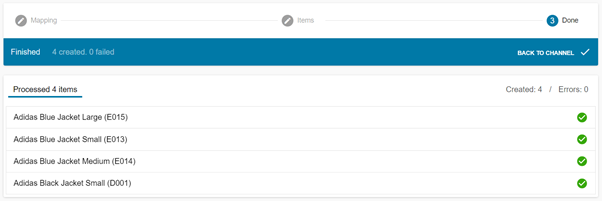
The next screen should then show that your items have been successfully processed and listed to the website.
These items should now show in your WordPress back office under Products.
If an item has failed to list you can view the errors for a listing by clicking it in the listings section of your channel page and scrolling to the “Synchronisation Messages” section at the bottom of the page.
Store Scan
If you already have existing items in your WooCommerce site, you can get them into the Stok.ly back office using the store scan function.
Due to the way WooCommerce handles mappings, you can only process a store scan if you have one mapping created.
The workaround for this is to scan your items in to Stok.ly from WooCommerce before you've set up your mappings and create a mapping for each type you're scanning in then delete it before trying to scan the next item type in.
On the listings section of your channel, press the “scan store” button.
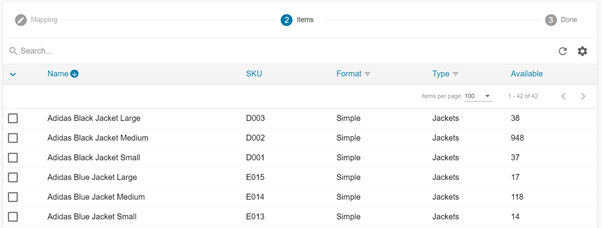
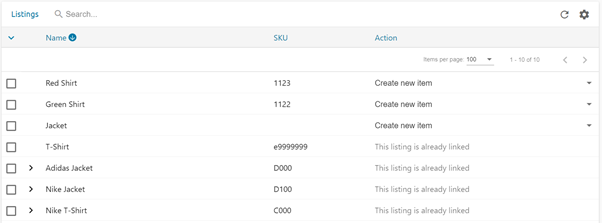
You will have three options for each item on your WooCommerce store: Link existing item, Create item and Do nothing. Link existing item will create a link between the WooCommerce product and a selected item in Stok.ly and Create item will create a new item using the most relevant mapping.
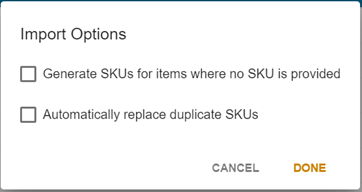
The import options that you are presented with are useful for any SKU conflicts you may have accidentally created with your items already in Stok.ly, or if your items have no SKU in WooCommerce.
If your WooCommerce items are missing attributes, Stok.ly will return you an error message with what’s wrong.
In this case there is no price value for my mapping to use from WooCommerce.
Hopefully once you’ve resolved these errors, the items from your website will have been successfully added to Stok.ly.
You should now be able to list items to and retrieve items from your WooCommerce website using Stok.ly.

